How to File an Emergency Roof Leak Insurance Claim in Florida
import { CallToAction } from '@/components/blog/CallToAction'; import { InfoBox } from '@/components/blog/InfoBox'; import { InternalLink } from '@/components/blog/InternalLink';
Covered perils pay; wear and tear doesn't — sudden storm damage is typically covered; age-related deterioration and deferred maintenance are not Document before you repair — photograph everything before making temporary fixes; adjusters need to see the original damage Florida hurricane deductibles are separate — typically 2-5% of your dwelling coverage, not your standard flat-dollar deductible Get a professional inspection report — Shield Roof Pro's documented assessment strengthens your claim significantly You can choose your own roofer — insurance cannot require you to use their preferred contractor; you have the right to select your own
The Insurance Claim Process, Demystified
Filing a homeowner's insurance claim for roof damage feels overwhelming. You're already dealing with water in your house, and now there's paperwork, adjusters, deductibles, and policy language that reads like a foreign language.
It doesn't have to be confusing.
This guide walks you through the entire emergency roof leak insurance claim process in Florida — step by step, from the moment you discover the damage to the final settlement check. We'll cover what's covered, what's excluded, how to document, how to talk to your adjuster, and what to do if your claim is denied.
At Shield Roof Pro, we've worked alongside hundreds of homeowners through the insurance claims process across Spring Hill, Hudson, New Port Richey, Holiday, Port Richey, Elfers, and Clearwater Beach. We know what adjusters look for, what documentation matters, and where claims go wrong.
This is that knowledge, shared.
<InfoBox type="info"> <strong>Related reading:</strong> This guide covers the insurance claims process. For information about storm damage patterns and what to look for, see <InternalLink href="/blog/storm-damage-leaks" text="our storm damage assessment guide</InternalLink>. </InfoBox>
Step 1: Determine If Your Damage Is Likely Covered
Not all roof leaks are covered. The single most important factor is the cause of the damage.
Typically Covered (Covered Perils)
Windstorm damage — shingles, tiles, or membrane lifted or removed by wind Hail damage — dents, punctures, or granule loss from hail impact Fallen trees or branches — debris impact during a storm Lightning strikes — damage from a direct or nearby lightning strike Weight of ice, snow, or sleet — not applicable in Florida, but covered in northern states Vandalism or malicious mischief — intentional damage by others Aircraft or vehicle impact — rare but covered
Typically NOT Covered (Exclusions)
Age-related deterioration — shingles that failed because they're 25 years old on a 20-year product Deferred maintenance — flashings that failed because they were never maintained, or gutters that were never cleaned Normal wear and tear — gradual degradation from sun exposure, temperature cycling, and time Manufacturing defects — faulty shingles or tiles (this is a warranty claim with the manufacturer, not an insurance claim) Flood damage — standard homeowner's policies exclude flood; you need separate flood insurance through NFIP or a private carrier Earthquake or earth movement — not relevant to roof leaks in Florida Intentional loss — damage you caused yourself
Some claims fall into a gray area where coverage depends on the adjuster's determination and your documentation:
Was the wind strong enough to be the proximate cause? Or was the roof already failing and the wind just finished the job? Did a tree fall on the roof, or did the tree hit a gutter and the resulting vibration dislodged tiles? Is the damage from a single storm event (covered) or the accumulation of many small leaks over months (not covered)?
This is where professional documentation — a written inspection report from a licensed roofing contractor with photos — makes the difference between a paid claim and a denied one.
Step 2: Document Everything Before Touching Anything
This is the most critical step, and the one most homeowners skip in their urgency to start cleaning up.
Before you remove debris, tarp the roof, or clean up water:
Exterior Documentation
Wide-angle photos of each roof plane from the ground — show the overall context Close-up photos of each damage area with a coin or ruler for scale Photos of debris — branches, objects, or materials on the roof or in the yard Photos of granule accumulation in gutters and at downspout outlets Photos of damaged gutters, fascia, or soffits Video walkthrough — a slow, narrated video from multiple angles around the house
Interior Documentation
Photos of ceiling stains, active drips, and water damage Photos of damaged personal property — furniture, electronics, flooring, belongings Photos of your containment efforts — buckets, towels, tarps — to show the severity Video of active dripping — a 30-second video showing the flow rate
Storm Documentation
Date and time of the storm — note when it occurred and how long it lasted Weather data — if a named storm, record the storm name, date, and wind speeds (available from the National Weather Service) Photos of neighborhood damage — if neighboring homes have similar damage, it supports the storm-causation argument
After temporary repairs:
Photos of tarps in place — showing the covered damage area Receipts for all emergency materials — tarps, lumber, buckets, towels, any other supplies
Store all photos in a dedicated folder on your phone or computer. Name them with dates and descriptions. This is your evidence file.
Step 3: Contact Your Insurance Company
Call the claims department of your homeowner's insurance carrier. Have ready:
Your policy number The date and cause of the damage A brief description of the damage (stick to facts — don't speculate about coverage) Your contact information and the property address
What to say: "I need to file a claim for roof damage caused by [windstorm / fallen tree / hail / etc.] on [date]. There is active water intrusion into my home. I'd like to schedule an adjuster inspection as soon as possible."
What NOT to say: "I think my roof was old and probably needed replacing anyway" — this invites a denial based on age "I've been meaning to fix those shingles for a while" — this suggests deferred maintenance "I'm not sure what caused it" — this creates ambiguity about whether the damage is from a covered peril
Stick to the facts: a storm event occurred on a specific date, and it caused roof damage that is allowing water into your home.
What to ask: What is my deductible for this type of claim? Is there a separate hurricane or windstorm deductible on my policy? What is the timeline for adjuster inspection? Am I covered for emergency temporary repairs (tarping, containment)? Do you have preferred roofing contractors, and am I required to use them? (The answer to the last question should be no — you have the right to choose your own contractor.)
Step 4: Get a Professional Roofing Inspection
Your insurance company will send an adjuster. The adjuster is not a roofing contractor. They are trained to assess damage for insurance purposes, but they are not roofers. They may miss damage that a trained roofing professional will catch.
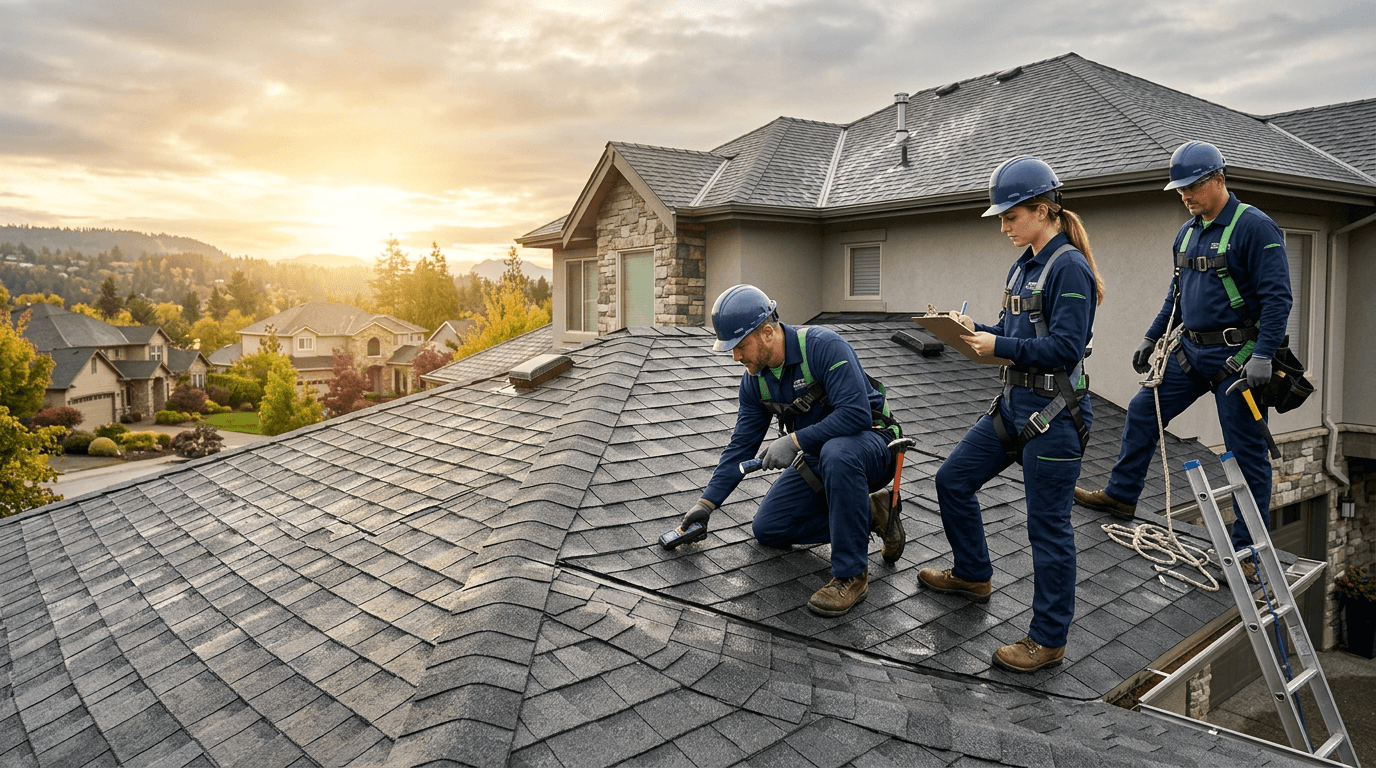
Before the adjuster arrives, have Shield Roof Pro perform an independent inspection. We'll provide:
A written damage assessment with photos Identification of the cause (storm damage vs. wear and tear) A detailed repair estimate Documentation of the full extent of damage (including areas the adjuster might not see)
This report goes directly to your adjuster. It serves as your independent, professional evidence that supports the scope and cost of the claim.
Having your own roofing contractor's assessment levels the playing field. The adjuster works for the insurance company. Your roofer works for you.
Step 5: The Adjuster Inspection
The insurance adjuster will visit your property, inspect the roof, assess the damage, and write an estimate.
Be present for the adjuster inspection. Walk with them. Point out every area of damage. Share your documentation (photos, videos, storm records). Provide your roofer's inspection report.
Things to discuss with the adjuster:
The cause of the damage (storm event on specific date) The full extent of visible damage Any interior water damage Emergency temporary repairs performed and their cost Whether additional damage may be hidden (under lifted shingles, behind fascia, inside wall cavities)
Things to avoid:
Speculating about the roof's age or condition before the storm Admitting to deferred maintenance or known pre-existing issues Accepting the adjuster's initial estimate as final — it's a first assessment, not a settlement
Step 6: Understanding Your Settlement
After the adjuster's inspection, the insurance company will issue a settlement offer. This typically comes in two parts:
Actual Cash Value (ACV)
The depreciated value of the damaged roof components. If your roof was 10 years old into a 20-year expected lifespan, the ACV is approximately 50% of the replacement cost.
Recoverable Depreciation
The difference between ACV and full replacement cost. Many policies include recoverable depreciation — meaning once the repair is completed and you submit the contractor's final invoice, the insurer pays the remaining balance.
This is your portion of the cost. In Florida, you may have two deductibles:
Standard deductible: A flat dollar amount (e.g., $1,000, $2,500) for most covered perils.
Hurricane/windstorm deductible: A percentage of your dwelling coverage (typically 2-5%). If your home is insured for $400,000 with a 2% hurricane deductible, your out-of-pocket cost for hurricane damage is $8,000.
Important: Your deductible is subtracted from the settlement. If the repair costs $15,000 and your deductible is $2,500, the insurance company pays $12,500 (subject to depreciation calculations).
Step 7: Choose Your Contractor and Complete the Repair
You have the right to choose your own roofing contractor. The insurance company cannot require you to use their "preferred" or "recommended" roofer. That said, preferred contractors may have established relationships with adjusters that can streamline the process.
When choosing a contractor:
Verify they are licensed and insured in Florida Check references and online reviews Ensure they have experience with insurance claims Get a written estimate that aligns with (or documents deviations from) the adjuster's estimate Confirm they can work within the insurance timeline
Shield Roof Pro provides detailed, line-item estimates that insurance adjusters recognize and accept. We've worked with all major carriers in Florida and understand the documentation requirements each one expects.
Step 8: What If Your Claim Is Denied?
Claims get denied. The most common reasons:
The adjuster determined the damage was from wear and tear, not a covered peril The damage was below the deductible threshold The policy had lapsed or the specific peril was excluded Insufficient documentation of the cause
If your claim is denied:
Request a written explanation — the denial letter should state the specific reason Review your policy — confirm whether the denial is consistent with your coverage terms Get a second opinion — an independent roofing inspector or a public adjuster may identify covered damage the original adjuster missed File an appeal — most insurers have an internal appeal process. Submit additional documentation (your roofer's report, additional photos, weather data) Hire a public adjuster — public adjusters work for you, not the insurance company. They charge a percentage of the settlement (typically 10-20%) but can significantly increase payout on complex claims Contact the Florida Office of Insurance Regulation — if you believe the denial is unfair, you can file a complaint with the state regulator Consult an attorney — for significant claims, an attorney specializing in insurance bad faith may be appropriate
Tips for a Smooth Claims Process
File promptly — most policies require "prompt notice" of loss. Waiting weeks or months can jeopardize your claim. Keep all receipts — emergency supplies, temporary repairs, hotel stays if the home is uninhabitable, meals if you can't cook. Communicate in writing — email is better than phone for a paper trail. Don't sign a direction of payment with your roofer until you understand what it means. It authorizes the insurance company to pay the roofer directly. This is common and often convenient, but make sure you understand the terms. Don't start permanent repairs before the adjuster visits — unless emergency repairs are necessary to prevent further damage, wait for the adjuster to assess the original damage.
<CallToAction title="Insurance Claim? We've Got Your Back." description="Professional inspection reports, detailed estimates, and direct adjuster coordination. We've helped hundreds of homeowners across Pasco and Hernando counties navigate the claims process." phone="(727) 555-ROOF" ctaText="Get a Claim-Support Inspection" />
Frequently Asked Questions
Will filing a roof claim raise my premiums?
In Florida, filing a single homeowner's claim for a covered peril (windstorm, hail) may or may not increase your premiums, depending on your carrier, claims history, and the size of the claim. Multiple claims within a short period are more likely to trigger rate increases or non-renewal. Discuss with your insurance agent before filing, but don't avoid filing a legitimate claim out of fear — that's what you pay premiums for.
How long do I have to file a roof damage insurance claim in Florida?
Florida law gives you up to three years from the date of loss to file a property insurance claim. However, most policies require "prompt notice" — meaning you should report the damage as soon as reasonably possible. Waiting months can give the insurer grounds to deny the claim based on late notice. File within days of discovering the damage, not weeks.
Can the insurance company force me to use their preferred roofer?
No. You have the right to choose any licensed, insured roofing contractor. The insurance company can recommend contractors, but they cannot require you to use them. Be cautious of contractors who are overly pushy or who offer to "handle everything" with the insurance company — some unethical contractors use high-pressure tactics and inflate estimates, which can cause problems with your claim.
What if the adjuster's estimate is lower than my roofer's estimate?
This is common. Adjusters sometimes miss damage or underestimate repair costs. Your roofer should provide a detailed, line-item estimate that documents every repair needed, along with photos. Submit this to the adjuster and request a re-evaluation. Many supplement claims (additional payments beyond the initial estimate) are approved when backed by solid documentation.
Does my insurance cover the cost of a professional roof inspection?
Some policies include a provision for inspection costs as part of the claim. If not, the inspection fee is typically small ($150-$500) and may be credited toward the repair cost if you hire the inspecting company. The value of a professional inspection in supporting your claim almost always exceeds its cost.
Need professional roofing help?
Next Level Roofing Contractors serves the Tampa Bay area with 18+ years of experience. Request a free estimate through our contact form.
Request Free Estimate